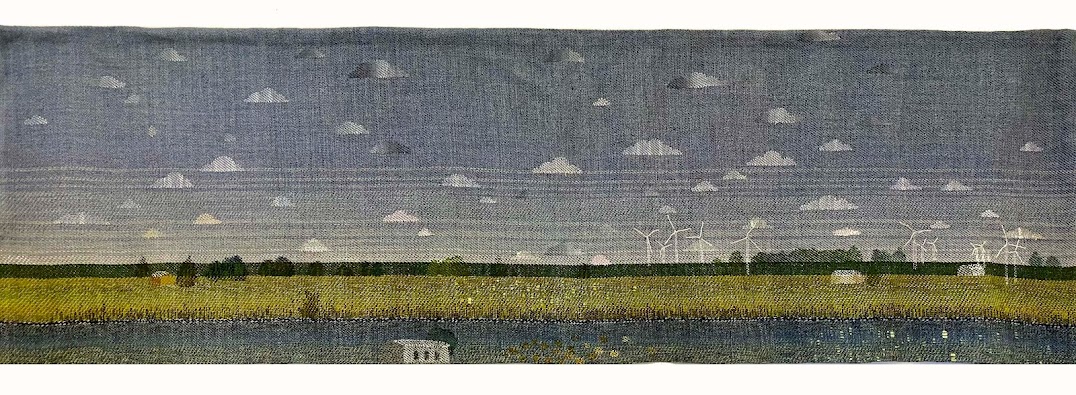
When I decided to upload my designs to www.patterndesigns.com, I found to my dismay that the patterns all were required to be vector patterns. I had been struggling in my hard-headed self-taught way to figure out the vector method in Adobe Illustrator (I always design in Adobe Photoshop and feel comfortable and reasonably fluent in that). It is a whole different way of thinking and working and makes a great deal of sense, but I couldn't get to square one on Illustrator. Take a class? well, I just have not yet done so....
Several years ago my son Will, who of course absorbs all of this techno information with the ease of a sponge, told me that there is a simple tool called "Live Trace", and gave me a little demo. I thought I had it down until the next time I tried it on my own and got big traced pixels.
I should explain to those of you, who like me, have a hard time understanding this stuff. Adobe Photoshop builds your images out of little building blocks called pixels. Think of graph paper designs you may have done as a child. The smaller the grid, the more refined your detail could get (a lot like what I deal with in weaving). So you need to work in a high level of ppi (pixels per inch) to get crisp detail. But when you blow your design up, or reduce it, your pixels can suddenly become a design element you had not counted on. Zigzag steps, smeary outlines.
Vector is more like a rubber band. You have an infinitely flexible, smooth outline to each shape (object) you are making, and if you enlarge or reduce it in scale, the outline remains smooth. Elastic, that is how I think of it. No unsightly zigzags.
You would think that working back & forth on 2 different Adobe platforms would be effortless, that each tool symbol behaved the same way in either program, but you would be wrong. So again, the middle aged autodidact has a problem here with translation!
So I took the radical step of reading carefully through the excellent tutorial provided by patterndesigns.com, and suddenly it all clicked!
I went back to the Auto Trace tool and followed their instructions:
1. select "all" of the image.
2. go to Object (why do they call it "object"? I want to know) menu, and scroll down to Live Trace.
3. Choose "tracing options"
4. in that menu, choose color, and then enter the number of colors in your design (which you have assigned under "indexed color in Photoshop). Hopefully it is under 10, or the next step might take a long time.
5. the design will now trace, but you are not finished! Open the Swatches palette under Window, and use the select tool to drag a copy of the image onto the palette.
6. take the eyedropper tool and click on the first color in the design. I try to work in groups to keep them straight, so I usually begin by sampling the background color.
7. Go to the swatch palette and click the New Swatch symbol at the bottom. (if you hover over the symbols you will be told what they are). Click on it, and your color will be traced and then its swatch will appear. When the New Swatch dialog box opens, click "global" and whether you want the color to be CMYK or RGB.
8. continue with every color in the design until it is complete, then go to the file folder icon at the bottom of the swatch palette, click it, and save your color palette.
9. Finally, save your file in the required format (.ai or .svg, etc)
Now, I will admit that I am a slow learner, and that I have been doing this in Illustrator CS3! Things may well have evolved since then. But mainly, I am thrilled that I now can make real vectorized designs from my raster images, and the next time a manufacturer asks for vector based designs, I won't have to admit my ignorance. I am sure all of you younger designers reading this are rolling your eyes, but it was a great week for me!
PS, I will bet many of you know this inside & out and can share tips. Please do!
About Me

- LFN Textiles
- I am a studio artist and textile designer. My work swirls around among art, design, and the joy of making things. I founded LFN Textiles Artists Ribbons in 2002, and have been designing these fairly wonderful ribbons for 8 years now. They are distributed for the wholesale market exclusively by Renaissance Ribbons, and are available at retail on my website, www.lfntextiles.com, and nationwide through fine fabric stores, gift shops. My tapestries are available through a number of galleries across the country as well. See the links section for contact information.
Thursday, October 11, 2012
Vector conversion with Adobe Illustrator for dummies
Labels:
textile design
 I am a studio artist and textile designer. My work swirls around among art, design, and the joy of making things.
I founded LFN Textiles Artists Ribbons in 2002, and have been designing these fairly wonderful ribbons for 8 years now. They are distributed for the wholesale market exclusively by Renaissance Ribbons, and are available at retail on my website, www.lfntextiles.com, and nationwide through fine fabric stores, gift shops.
My tapestries are available through a number of galleries across the country as well. See the links section for contact information.
Subscribe to:
Post Comments (Atom)


Not rolling my eyes, relieved to know I am not alone!
ReplyDeleteI love your work and I also really love the way you describe vector art as a smooth rubber band - that's just such an apt description in comparison to pixels!
ReplyDeleteI found your post on the Art of Licensing and I think it's great that you're using Live Trace, global color swatches and getting the hang of Ai as a PS user - you're right it's more of a leap than one would think between those two programs.
Thanks, Laura. I found this blog post through your Linkedin post in the licensing group. I too have used Photoshop for a long time for all sorts of things, including creating my patterns, and I found Illustrator surprisingly difficult to learn and use. I took an intensive class in it but still find it frustrating and always end up going back to Photoshop. In the steps you describe above, what program were you working in? Is that Auto Trace tool in Illustrator or in Photoshop?
ReplyDeletePaula Ogier
Thank you all for your comments. Paula, the LiveTrace feature is in Illustrator under the "object" menu. Sorry I did not make that clear above!
ReplyDeleteThis comment has been removed by the author.
ReplyDeleteWow i can say that this is another great article as expected of this blog.Bookmarked this site..
ReplyDeleteadobe illustrator training courses